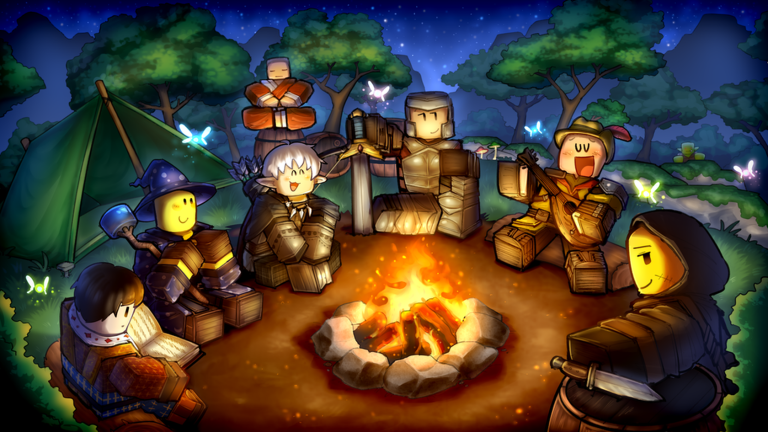
Mastering An Average Campaign: The Ultimate Solo Run Guide
Discover the best strategies for an average campaign solo run. From character builds to boss tactics, learn how to conquer the challenge solo.
Published:
Video Guide
OCCOULTIST SOLO Guide + SHOWCASE | An Average CampaignTable of Contents
Introduction
Embarking on an average campaign solo run in this challenging Roblox title is the ultimate test of your strategic prowess and patience. Many players find themselves overwhelmed by the sheer difficulty of navigating the forest, dungeons, and sewers alone, but with the right approach, success is entirely possible. Understanding these mechanics is crucial because, unlike team play, a solo run leaves no room for error, requiring you to master every turn and decision.
Understanding the Solo Challenge
Why is an average campaign solo run considered so difficult by the community? The game is inherently balanced for groups, meaning when you tackle it alone, you lose the support, utility, and damage mitigation that teammates provide.
According to community reports, players often feel "handicapped" during these runs because they lack the subclass advantages that are typically balanced around group compositions. To succeed, you must adopt a "min-max" mindset—every point of energy, every potion, and every turn must be calculated to maximize your survival odds.
Key Factors for Solo Success
Factor
Description
Why it Matters
Stat Management
Prioritizing specific attributes
Increases survivability and damage output.
Boon Selection
Choosing the right starting perks
Provides essential buffs for early game stages.
Turn Efficiency
Optimal use of energy/actions
Prevents wasting turns during critical encounters.
RNG Mitigation
Reducing reliance on luck
Ensures consistency against boss mechanics.
Essential Setup and Prep Work
Before you even step into the forest, your preparation phase determines your trajectory. Most successful solo players emphasize the importance of having the right boons and stat investments early on.
Recommended Boon Selection
While playstyles vary, veteran players often suggest selecting boons that provide survivability or defensive bonuses. For example, opting for boons that offer damage reduction against physical or necrotic damage can be the difference between life and death during a boss fight.
Maximize Starting Stats
Always look for ways to increase your starting stat points during the character creation or early game phase. This extra flexibility allows for a more robust build, increasing your block chance and overall combat effectiveness.
Navigating the Forest and Dungeon
The early game, specifically the forest, is your training ground. Even if you lack a subclass, you must gather essential items and experience. Focus on acquiring basic defensive gear, such as cloth armor, and prioritize survival over aggressive play.
Once you reach the dungeon, the game shifts gear. This is where you need to start being strategic about which "trainers" or enemies you engage.
Dungeon Combat Priority
Target
Recommended Strategy
Purpose
Zealot
Prioritize after initial prep
Provides Mark of Empire for great stat boosts.
Knight
Avoid early on
Too punishing; wait until stats are higher.
Beast
Engage for loot
Offers useful drops for your loadout.
Community experience highlights that trying to tackle the toughest enemies early is a common pitfall. Instead, farm manageable encounters, conserve your potions, and ensure you enter the final stage with a full arsenal.
Boss Fight Strategy: Conquering the Shard of Melchior
The boss fight is the climax of your an average campaign solo run. You will likely face two entities: a mouse-like enemy and the primary boss, the Shard of Melchior.
Boss Engagement Rules
Target Priority: Always dispatch the smaller enemy on the left first. It provides consistent, annoying chip damage that adds up quickly.
Energy Monitoring: Watch the Shard of Melchior’s energy bar. Once it approaches the 6-7 energy threshold, prepare for high-damage, unblockable attacks.
Healing Windows: Do not feel pressured to stay at 100% HP, but ensure you have enough health to survive the boss’s most potent "fist" attacks.
Managing Boss Mechanics
Mechanic
Effect
Counter-Strategy
Unblockable Attack
Massive 90% HP damage
Ensure your health is above the threshold; potion management.
Energy Gain
Boss gains 1-3 energy/turn
Force a trade or use defensive abilities to stall.
Fist Ability
High damage strike (~40 HP)
Guard when the boss has 4+ energy to mitigate impact.
Advanced Tips for Solo Persistence
If you find yourself failing, remember that an average campaign solo run is often an exercise in persistence. Some players report taking dozens of attempts before landing the perfect run. If your build relies on specific summons (like the Potential Bunny) or subclasses, ensure your cooldown management is perfect. Losing your primary summon at the wrong time usually guarantees a wipe.
For more information on game updates and official community resources, check the official Roblox game page to keep track of any balance changes that might affect your strategy.
Frequently Asked Questions
Q: Can you actually do an average campaign solo run without a subclass?
A: Yes, it is possible, but extremely difficult. Players often report that it requires perfect RNG, precise min-maxing of stats, and efficient use of every single turn.
Q: Which boons are best for a solo run?
A: Most players recommend boons that reduce physical or necrotic damage, as well as those that grant extra starting stat points or survival-based triggers for fatal attacks.
Q: Should I use potions early in the game?
A: Conserve them. You generally want to carry at least 2-3 into the boss fight. Using them in the forest or early dungeon is usually a waste unless your survival is absolutely threatened.
Q: What do I do immediately after beating the boss?
A: Make sure you select the "I'm listening" dialogue option. If you choose "run away," you will miss out on the subclass unlock reward.
By following these strategies, you are well on your way to mastering the solo experience and claiming your rewards in this challenging adventure. Keep experimenting with your builds and don't get discouraged by the inevitable setbacks!